SoapDispensing | Retrofit & Facilities Guide
Soap dispensers look “minor” on drawings, but in existing buildings they behave like a reliability system: placement, soap chemistry, power strategy, and service access determine whether your retrofit reduces work orders—or quietly creates them.
At SoapDispensing, the core focus is practical, durable soap dispensing for workplaces, hospitality, healthcare, and other high-use environments, with an emphasis on hygiene performance and maintainability in real facilities.
This guide is written for facility managers and AEC partners planning a manual-to-automatic retrofit that is technically sound, non-disruptive, and easy to maintain.
Start with the “why”: define the operational outcome
A retrofit succeeds when it improves measurable operations:
- Fewer repeat calls (drips, clogs, false triggers, empty units)
- Faster service cycles (refill + battery change without disassembly)
- Better user experience (clear activation zone; consistent dose)
- Cleaner surroundings (less splatter, less residue)
In healthcare and other high-risk environments, your soap dispenser workflow is part of a broader hygiene program—handwashing is a foundational control.

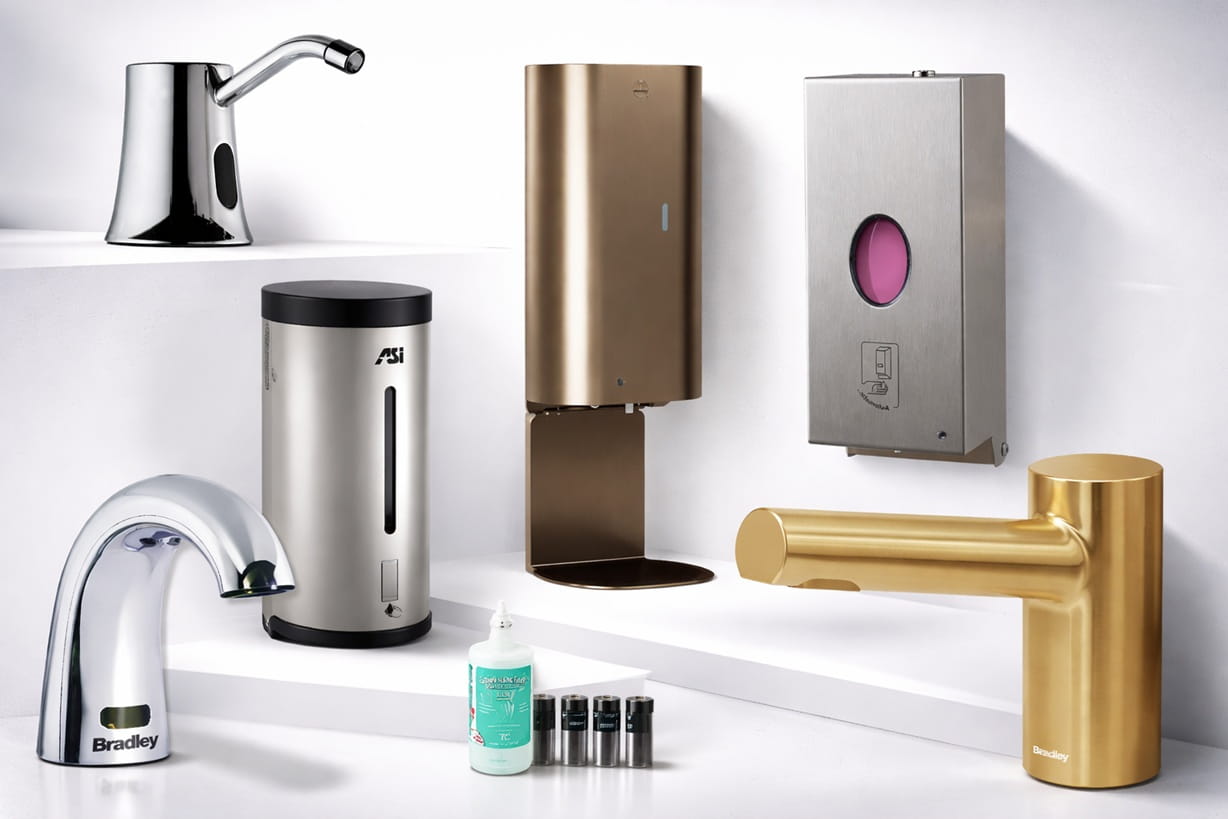
Retrofit decision matrix: the three choices that drive everything
A) Mounting strategy: wall vs deck
Wall-mounted retrofits are often simpler to standardize, but demand reliable backing and waterproof penetrations. Deck-mounted retrofits can look cleaner in premium restrooms, but require under-counter access and accurate hole sizing.
Retrofit tip: don’t assume the existing hole pattern can be reused—confirm template compatibility before ordering.
B) Soap type and viscosity
Most early failures trace back to soap incompatibility (viscosity and additives) that stresses pumps/nozzles.
Best practice for existing facilities:
- Standardize on one soap type per building (liquid or foam)
- Document the approved SKU(s) and train housekeeping to avoid substitutions
C) Power: battery vs plug-in vs hardwired
- Battery: fastest retrofit; predictable if you track replacement cycles
- Plug-in transformer: reduces battery calls; requires an accessible outlet and clean routing
- Hardwired low-voltage: best for high traffic if you can maintain access (avoid “buried” transformers)
Decision rule: choose power based on traffic + service access, not preference.

Site survey before design: eliminate the “hidden existing conditions”
In existing restrooms, failures come from conditions no one documented:
- Wall substrate and backing are unknown
- Counter thickness varies by room
- Under-sink cabinetry blocks service access
- Mirrors/metal backsplashes create sensor reflections
What to capture in a 15-minute survey:
- Mount location, clearances, and conflicts (towel, dryer, grab bars)
- Under-counter access (for deck mounts and power components)
- Cleaning chemicals used on/near the unit (finish and sensor window risk)
- Sunlight or highly reflective surfaces near activation zone
Use the printable Retrofit Readiness Survey (below) to standardize this walk.
Accessibility and usability: treat dispensers like operable parts, not accessories
Two practical retrofit principles:
- Operable parts must be usable without tight grasping/pinching/twisting and with limited force—your retrofit should avoid “fussy” latches or awkward manual overrides.
- If soap dispensers are provided at lavatories, they must be located within required reach ranges. (This is frequently missed when moving units during renovation.)
Retrofit habit that prevents rework: confirm the final dispenser location and user approach (forward/side) during the field survey—not after rough-in.
Installation strategies that actually work in existing buildings
Strategy A: “1:1 swap” (same general location)
Best when the existing location is good and the new unit covers old penetrations.
Key steps:
- Verify backing (don’t trust tile alone)
- Seal penetrations properly in wet zones
- Ensure the dispenser is plumb/level (rocking = callbacks)
Strategy B: “Relocate and patch”
Best when the existing location conflicts with accessibility, mirrors, or towel equipment.
Key steps:
- Patch/finish is part of the scope—don’t leave it “TBD”
- Re-check sensor behavior in the new location (reflections change)
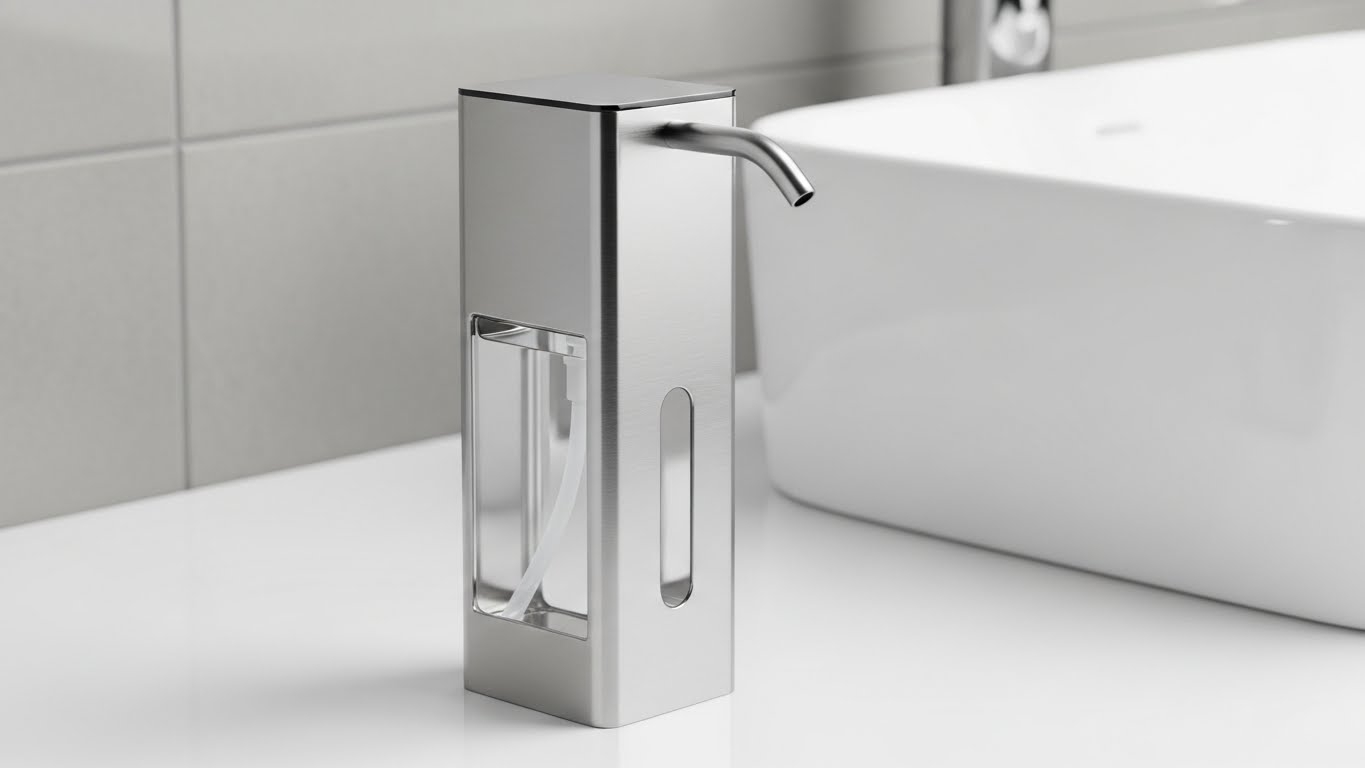
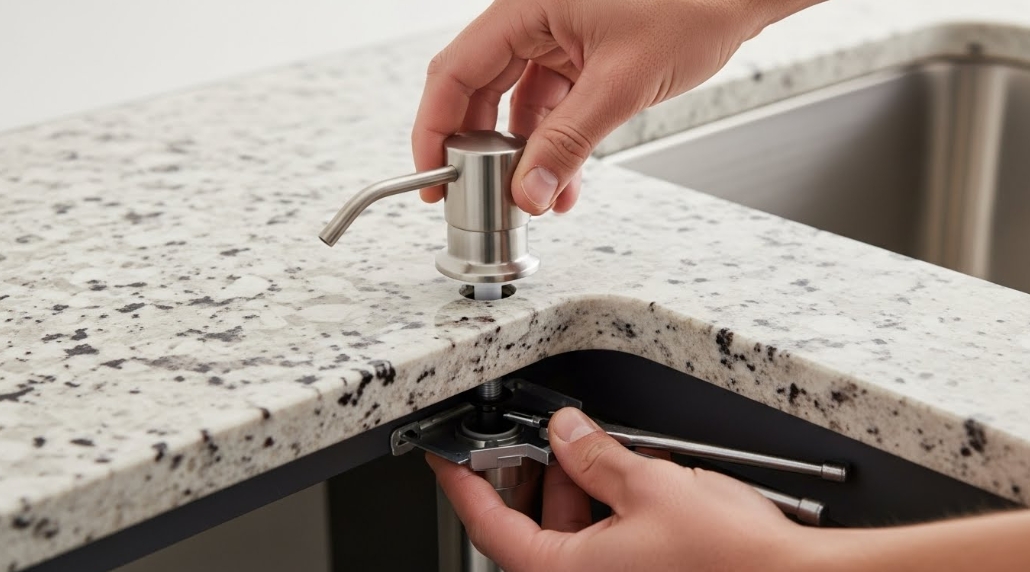
Strategy C: Deck-mount conversion
Best in premium restrooms or when wall construction is problematic.
Key steps:
- Confirm hole size + deck thickness
- Ensure service access for battery/reservoir
- Route tubing to avoid tight bends and pinch points
Commissioning: define “done” as performance + serviceability
A dispenser is not complete when it turns on. It’s complete when it:
- Primes and dispenses consistently (5–10 cycles)
- Has a predictable activation distance (no hunting)
- Does not false-trigger (mirrors/metal backsplashes are common causes)
- Stops cleanly (no drip trail)
- Can be refilled and serviced without uninstalling anything
Use the Commissioning & Ops Logbook (below) to record the settings that worked in that room—this dramatically speeds up future troubleshooting.
Operations: convert random failures into scheduled work
A strong retrofit plan includes a basic O&M model:
- Define inspection interval by traffic (daily/weekly/monthly)
- Stock spares (batteries, pump modules/keys)
- Standardize models and soaps to reduce variability
- Train housekeeping on sensor-safe cleaning (avoid harsh abrasives on the sensor lens)
For broader facility hygiene programs—including surface cleaning/disinfection protocols—align restroom maintenance with CDC guidance on cleaning and disinfecting facilities.
Closeout and handover: what FM teams should demand
For each dispenser type and location:
- Cut sheets/submittals and final model IDs
- Installation and maintenance instructions
- Warranty terms and spare parts list
- Asset tagging plan (room ID + model + power type)
- Commissioning record (dose/sensor zone acceptance)
These documents prevent your team from “guessing” after turnover.
Manual to Automatic Soap Dispenser Upgrades for Commercial Buildings
Manual to automatic soap dispenser upgrades are increasingly common in commercial buildings, healthcare facilities, hospitality properties, and other high-traffic environments where hygiene and maintainability are top priorities. These retrofits help reduce contact points while supporting a more modern and predictable restroom experience for occupants and visitors.
In existing facilities, the best retrofit outcomes come from evaluating the full operating condition of the restroom before installation begins. Wall backing, counter access, soap viscosity, sensor placement, and power requirements all influence whether the new automatic dispenser will perform reliably over time. A retrofit that accounts for these conditions can reduce downtime, simplify service, and improve long-term restroom operations.
Support documents (downloadable PDFs)
Verified source links (clean URLs)
Required reference/category pages
Accessibility + hygiene references
No responses yet