Facility Management • AEC Operations • Restroom Performance
Soap dispensers sit at the intersection of hygiene outcomes, tenant experience, and maintenance workload.
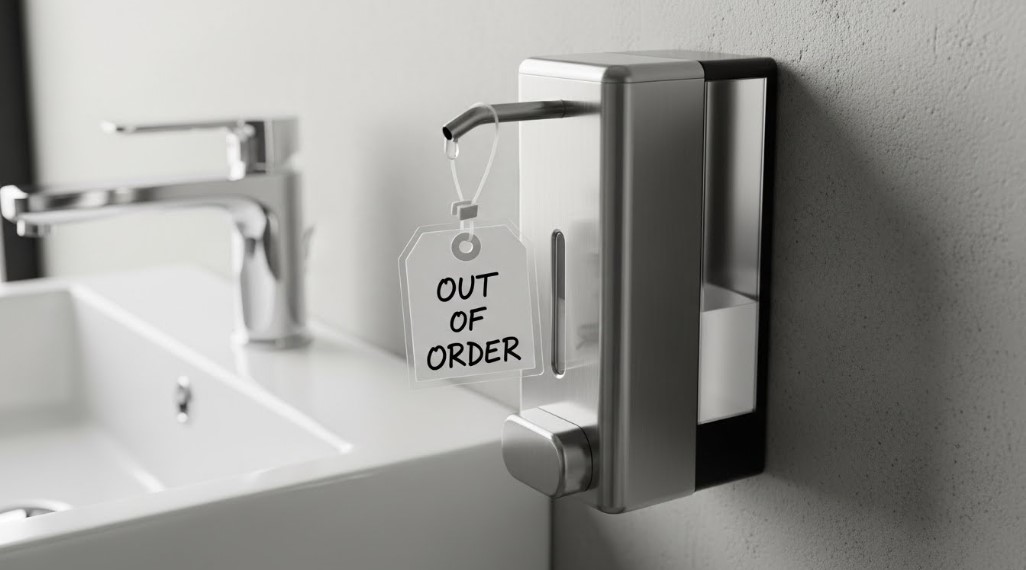
For facility teams, they’re also a reliability problem: small failures (clogs, false triggers, poor placement) quickly become repeat service calls.
For AEC teams, dispensers are a “minor” accessory that can still drive ADA conflicts, counter-space coordination issues, power-routing surprises, and O&M headaches if they aren’t specified and installed with operations in mind.

Choosing the right dispenser: a facility-first spec checklist
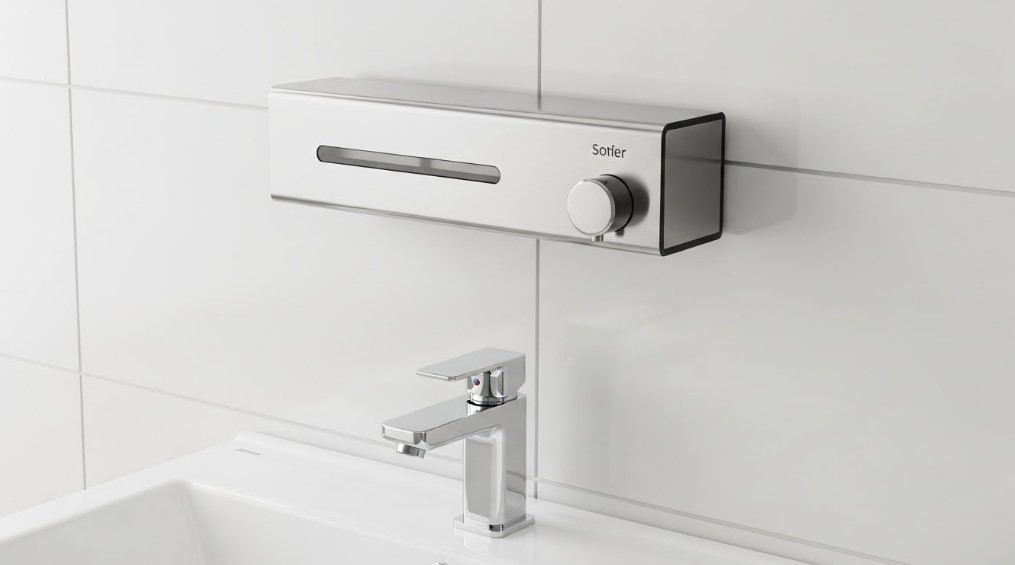
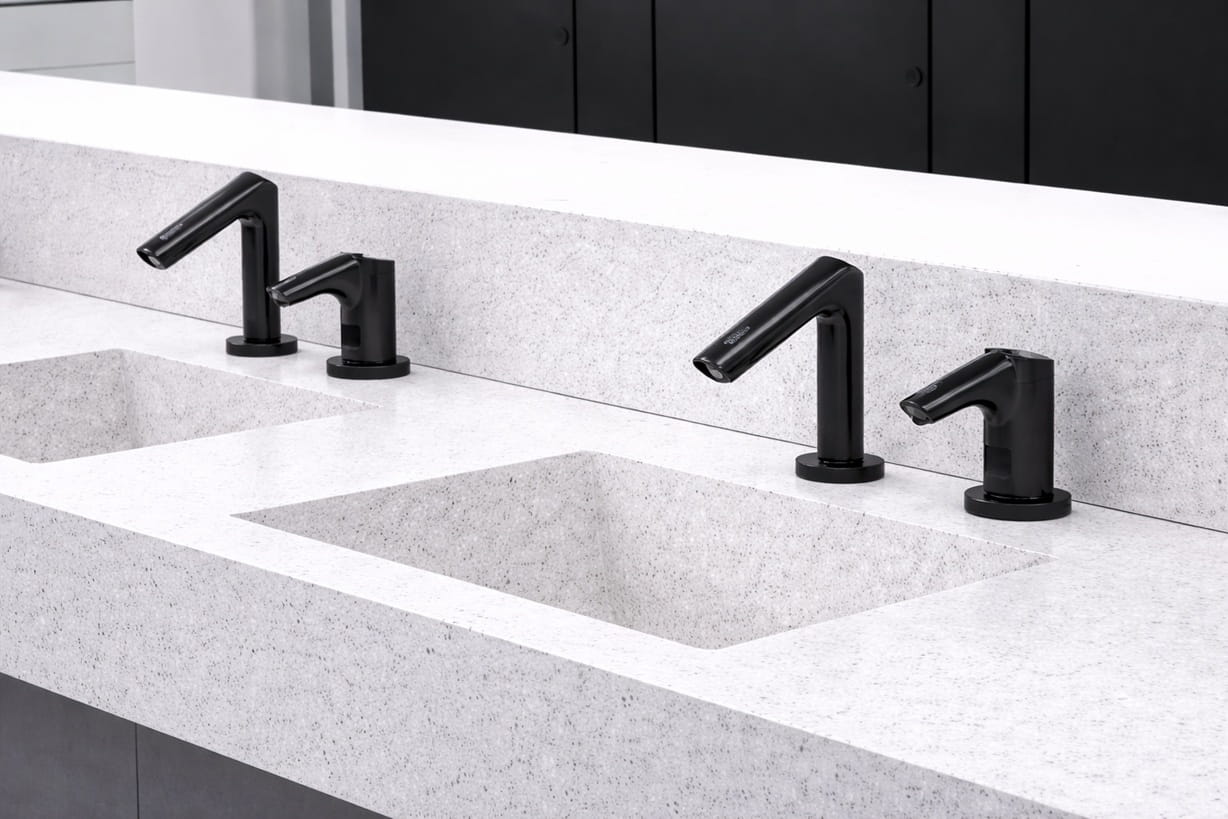
Mount type and physical integration
Your first selection decision isn’t “touchless vs manual”—it’s where the unit lives and how it’s serviced.
-
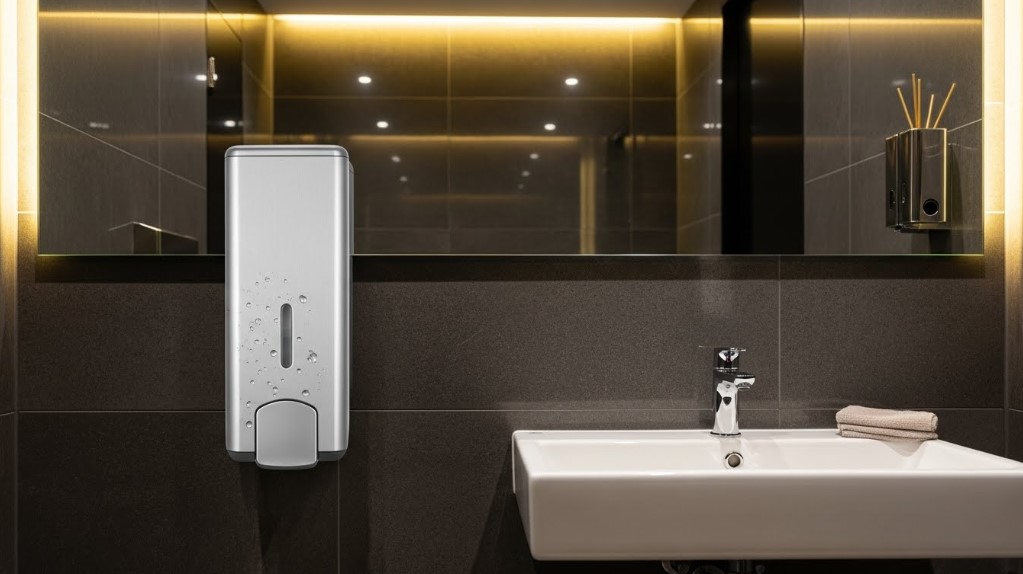
Wall-mounted
Good for: simple retrofit, clear counters, controlled placement.
Watch-outs: wall blocking/backing, waterproofing at penetrations, tamper resistance.
-
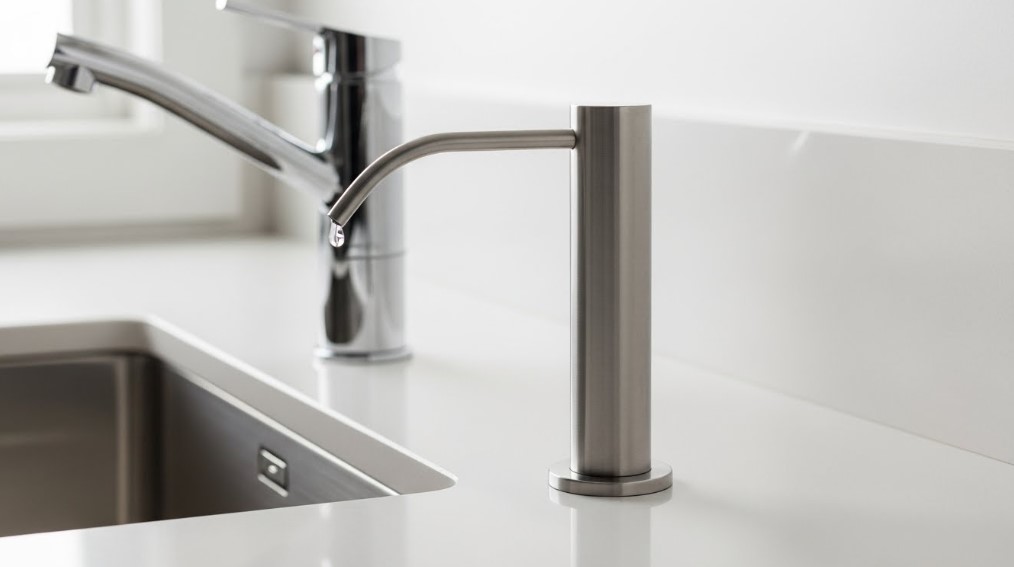
Deck-mounted (countertop)
Good for: premium vanity designs, easier line routing in some cabinetry.
Watch-outs: hole sizing, deck thickness, under-counter access for service. -
Central/bulk or multifeed systems (where used)
Good for: reducing refill frequency in high-traffic restrooms.
Watch-outs: tubing runs, consistent soap chemistry, access to central tank.
Soap chemistry and dispensing method
Soap dispensers fail early when the installed soap doesn’t match the unit’s pump/nozzle design. Decide up front:
- Liquid vs foam (and whether you’ll allow both in one site)
- Viscosity tolerance (especially for economy bulk soaps)
- Cartridge vs bulk fill (bulk fill can cut costs but raises consistency + contamination control concerns)
Facility best practice: standardize on a small number of approved soaps to reduce clogging risk and simplify stocking/training.
Power strategy: battery vs hardwired
- Battery = easy retrofit, minimal coordination, predictable replacement cycles (if you track them).
- Hardwired/low-voltage = fewer battery calls, but you must plan transformer location, access, and safe routing.
In most facilities, “battery vs hardwired” should be decided by traffic level, service access realities, and whether you have an electrical pathway that won’t create future access issues.
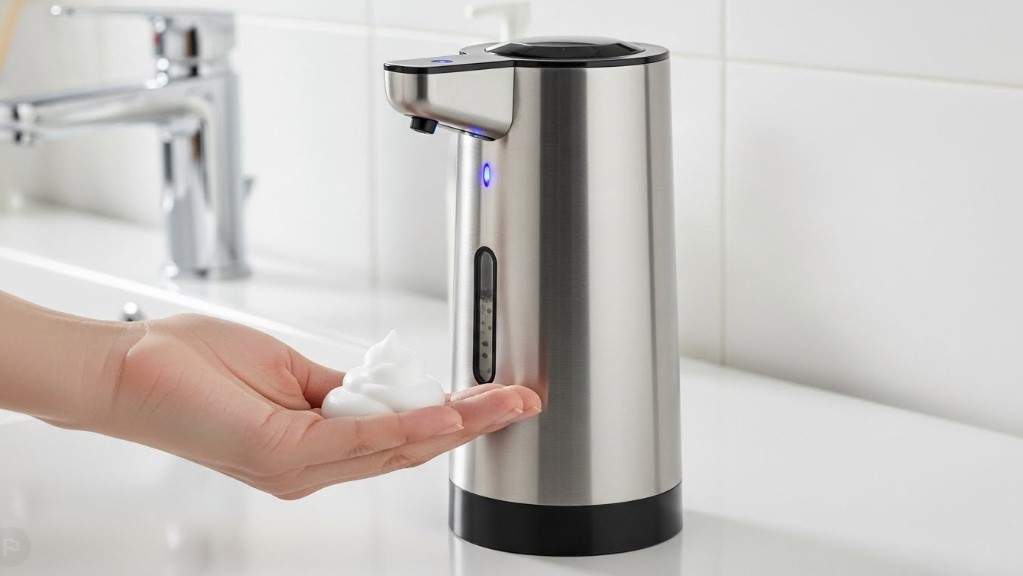
Sensor behavior in real restrooms
Touchless doesn’t automatically mean “less work.” Poor sensor placement can create:
- false triggers (reflective backsplashes, direct sunlight, mirror reflections)
- “dead zones” where users can’t find the activation area
- inconsistent dosing when users wave too close/too fast
Look for models with clear sensor windows, configurable dose/sensitivity (where available), and serviceable pump modules (swap in minutes, not hours).
Installation planning: what AEC teams should coordinate before rough-in
Treat the dispenser like any other fixture that affects layout, clearances, and service access.
Pre-install survey (field reality check)
- Confirm reach + approach (and no conflicts with towel dispensers, dryers, grab bars, or mirrors)
- Verify wall substrate and backing for wall units
- Confirm cabinet access for deck-mount service (battery/soap line/pump)
- Confirm cleanability (avoid placements that guarantee soap spray on adjacent finishes)
Waterproofing and penetrations
- Use the manufacturer’s gasket/seal details
- Avoid unsealed screw holes in wet zones
- Keep sensor lenses clean—caulk smear over sensor windows is a common commissioning issue
Install workflow: wall-mounted and deck-mounted (commissioning-driven)
Wall-mounted dispensers (typical sequence)
- Verify backing/blocking (don’t trust “should be fine”)
- Mark placement using field-verified heights and offsets
- Drill and seal penetrations as required
- Mount plumb/level (rocking units become call-backs)
- Install reservoir/cartridge and confirm latch/lock
- Prime per manufacturer instructions
- Commission (see below)
Deck-mounted dispensers (typical sequence)
- Confirm hole size, deck thickness, and under-counter clearance
- Install body and secure hardware without over-torquing
- Route tubing to avoid tight bends and pinch points
- Prime and test for leaks before closing the cabinet
Commissioning: what “done” actually means
A dispenser is not complete when it turns on. It’s complete when it dispenses consistently, doesn’t false-trigger, stops cleanly, and can be serviced without uninstalling the fixture.
Minimum commissioning tests:
- Prime + 5–10 cycles (confirm consistent output)
- Activation distance (confirm usable zone; watch reflections)
- Shutoff time (no runaway dispense)
- Leak check (reservoir, tubing, nozzle)
- Service access drill (simulate refill + battery change)
Operations and preventive maintenance: keeping service calls predictable
Your goal is to convert random failures into scheduled work.
Recommended intervals (adjust by traffic)
- Low traffic (office suites): weekly checks, quarterly battery review
- Medium traffic (schools): 2–3x/week checks, quarterly deep clean
- High traffic (airports/venues): daily checks, monthly deep clean
Cleaning that won’t destroy sensors and finishes
- Use non-abrasive cloths
- Avoid harsh chemicals on the sensor lens
- Wipe nozzle residue routinely (top cause of drip complaints)
Stocking and standardization
- keeping spare pumps/batteries on-site
- standardizing on a limited number of dispenser models + soaps
A “portfolio standard” cuts training time, parts chaos, and troubleshooting variability.
Troubleshooting: high-probability failure modes
-
No dispense
Common causes: empty reservoir, dead batteries, sensor blocked
First checks: refill, clean sensor window, confirm status LED -
Random dispensing
Common causes: reflective surfaces, sunlight, mirror bounce
First checks: change angle, reduce reflective surfaces near sensor -
Weak/inconsistent dose
Common causes: soap viscosity mismatch, clogged nozzle, low power
First checks: confirm approved soap, wipe nozzle, re-prime -
Dripping after dispense
Common causes: nozzle residue, valve/check-valve wear
First checks: clean nozzle, confirm soap compatibility
Turnover documentation: what to demand at closeout (AEC → FM)
- cut sheets/submittals (model ID, capacity, finish, compliance claims)
- install and maintenance instructions
- warranty terms + spare parts list
- asset tagging plan (restroom ID + dispenser model + power type)
- commissioning record (activation distance, dose setting, acceptance)
These “small” docs are what keep your service team from guessing.
Commercial Soap Dispenser Installation and Maintenance Considerations
Commercial soap dispenser performance depends on more than choosing a touchless or manual model. Mounting location, sensor response, approved soap type, battery or hardwired power, and service access all influence whether the fixture will operate reliably in daily use. In busy restrooms, even small coordination mistakes can lead to constant refills, drips, weak dosing, or repeated maintenance visits.
A strong specification and installation plan helps prevent these issues before occupancy. By standardizing dispenser models, confirming real field conditions, and documenting commissioning settings, building teams can reduce downtime, improve user experience, and make restroom maintenance more predictable over the life of the facility.
Quick Links
Reference Sources Buttons
Technical reference libraries and category pages used for specification review,
fixture comparison, and operational context.
Support Documents Buttons
Field-ready operational documents for installation, commissioning,
and preventive maintenance.
No responses yet