SoapDispensing | Accessibility & Specifier Guide
ADA soap dispenser coordination that holds up in the field
Soap dispensers are “small” accessories that regularly create outsized accessibility risk—especially in renovations where existing tile lines, vanity depths, and accessory layouts constrain placement. For AEC teams, the challenge is translating ADA requirements (reach ranges, operability, protrusion limits, and clearances) into repeatable details that contractors can install consistently. For facility managers, the goal is to avoid upgrades that look modern but generate complaints, failed inspections, or repeat work orders.
SoapDispensing’s core purpose is to support real-world hygiene infrastructure in high-use environments—helping teams choose and maintain durable dispensing solutions that work for occupants and for operations.
This guide focuses on what specifiers need to coordinate so dispensers are compliant, usable, and maintainable—without turning into a sales pitch.

Use as a coordination checklist for AEC + facilities teams
Start with the ADA fundamentals that most often trip dispensers
Reach ranges (and the “over-obstruction” trap)
If the dispenser’s user-operable portion (sensor activation zone, button, or push area) is out of reach, it’s a problem even if the unit “fits” the wall.
Key reach-range basics (2010 ADA Standards):
- Unobstructed forward reach: 15" min to 48" max AFF
- Forward reach over an obstruction (like a counter): the allowable max height drops based on reach depth (commonly down to 44" max once the reach depth exceeds 20").
Practical AEC takeaway: if the dispenser is mounted near or over a deep vanity or behind a counter edge, don’t assume 48" AFF works—dimension the reach depth in elevation or section, not just the mounting height.
Operability (if any manual action is required)
If your selection includes a manual button/lever (or any user-actuated control), operable parts must:
- be usable with one hand
- require no tight grasping, pinching, or twisting
- require ≤ 5 lbf to activate
Touchless designs reduce—but don’t eliminate—risk. The “operable portion” still needs to be within reach range and usable for the intended approach.

Protruding objects: the dispenser can’t become a cane-detectability hazard
Wall-mounted dispensers often project more than you’d expect. ADA protruding object limits apply when the leading edge is:
- more than 27" and not more than 80" AFF, and
- located along a circulation path
In that band, projection is limited to 4" max into the circulation path.
Design strategies that actually work:
- Recessed alcoves sized so clear floor space isn’t compromised
- Side panels or wing walls with a bottom edge at 27" max to make the hazard cane-detectable
- Relocate dispensers off the “shoreline” path where users with vision impairments travel close to walls
Placement coordination: dispensers must not steal required clearances
Dispensers can accidentally reduce:
- door maneuvering clearances
- approach space to lavatories
- circulation width within tight multi-stall restrooms
Two coordination rules help prevent problems:
- Dimension the dispenser zone as part of the lavatory or accessory elevation (not “by field”).
- Coordinate the full accessory set (soap + faucet + towel + dryer + mirror) so the dispenser is reachable without forcing an awkward approach.
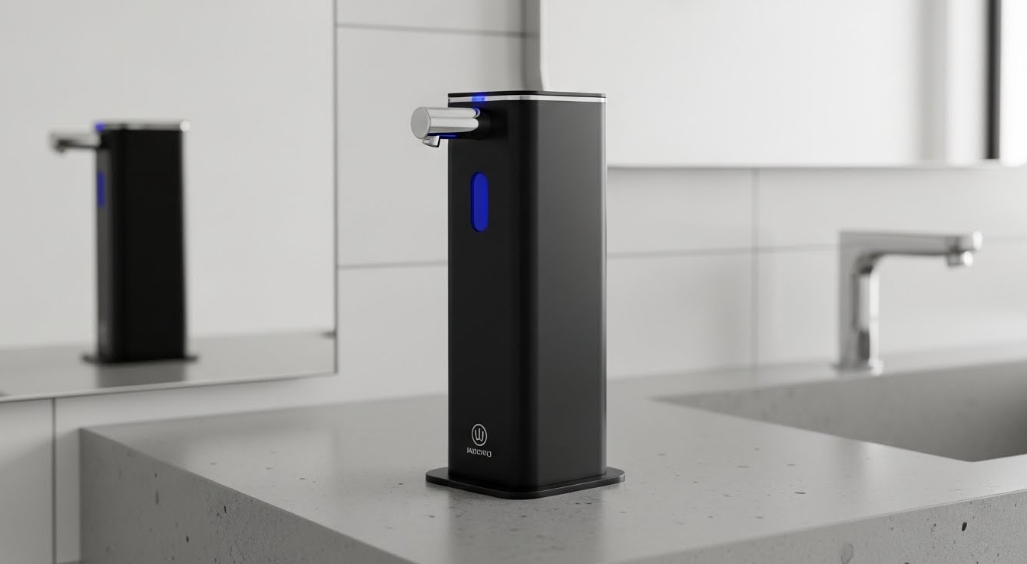
This is where “coordinated sets” (touchless faucet + soap) can simplify layout coordination—because the sensor logic and typical mounting intent are designed to work together.

Specifier checklist: what to require in submittals (so the install matches intent)
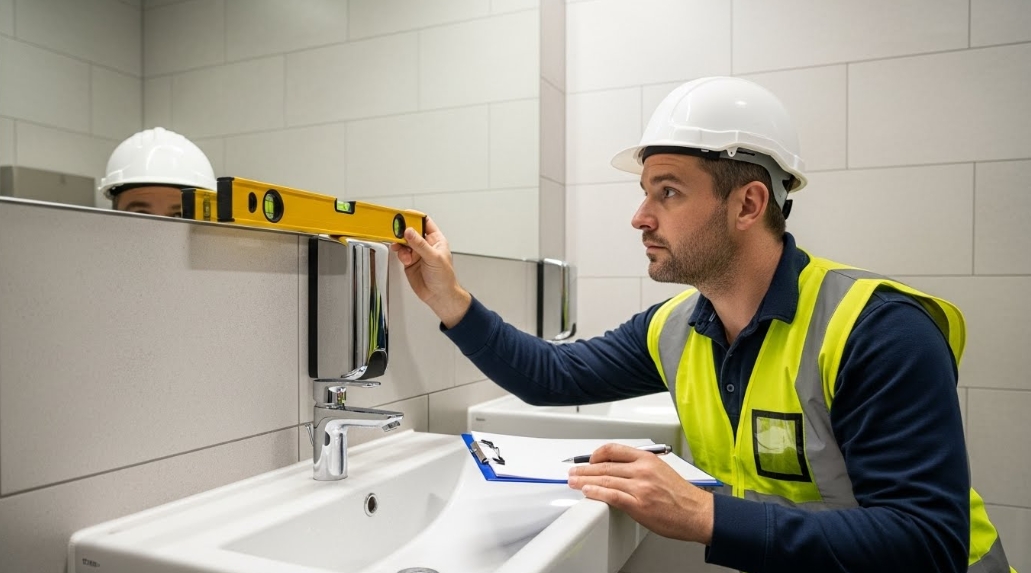
Include these items in your submittal review + install details:
- Mounting height (AFF) to the operable portion (not just the top of the housing)
- Approach type assumed (forward vs side) and whether a counter obstruction exists (reach depth dimensioned)
- Projection dimension (wall to leading edge) and whether the unit sits on a circulation path (4" protrusion rule)
- If manual: activation force and confirmation of compliant operability (≤ 5 lbf, no twisting/pinching)
- Service access plan (refill/battery access without removing the dispenser and without disturbing compliant clearances)
Note: items used only by service or maintenance personnel are treated differently than occupant-operable parts. Don’t let a service lock become the “operable part” for users.
Renovations and retrofits: common failure modes (and how to avoid them)
The “new dispenser, old vanity” mismatch
A retrofit often fails reach compliance because:
- vanity depth increased,
- backsplash geometry changed, or
- the dispenser moved behind the faucet zone.
Solution: in retrofit drawings, add a simple reach-depth diagram and call out the maximum allowed mounting height for that reach condition, not a generic 48" AFF note.
Protrusion surprises in tight rooms
Even if the dispenser is “inside the restroom,” it may still sit on a circulation path. If it projects too far, it can violate protruding object limits.
Solution: specify recessed or shielded mounting when corridor-like circulation exists, or shift the dispenser to a location where it does not reduce route width.
Commissioning and O&M: “compliant” also has to be maintainable
Accessibility isn’t just about initial placement. A dispenser that constantly drips, false-triggers, or requires removal for refills becomes an operational issue that can lead to “field fixes” that break compliance.
Commissioning checks facility teams should require:
- Confirm operable portion height (AFF) after finishes are complete
- Verify reach usability from the real approach (not a theoretical one)
- Verify no protrusion hazard in circulation zone (measure projection)
- Verify refill/battery access without moving the unit
Commercial Soap Dispenser Placement and ADA Compliance
Commercial soap dispenser placement can directly affect ADA compliance, especially in renovation projects where counter depth, wall conditions, and accessory spacing limit layout options. A dispenser that is mounted too high, projects too far into a circulation path, or interferes with required clearances can create avoidable accessibility risks and costly field corrections.
A coordinated ADA approach helps design teams align dispenser location with reach ranges, operable parts requirements, and maintenance needs before installation begins. This improves restroom usability, supports code review, and helps facility teams maintain compliant handwashing stations over the life of the building.
Support documents (downloadable)
Tip: keep these in the project closeout package so field teams can verify mounting and projection after finishes.
Verified source links
Requested category/reference pages
Primary accessibility references